
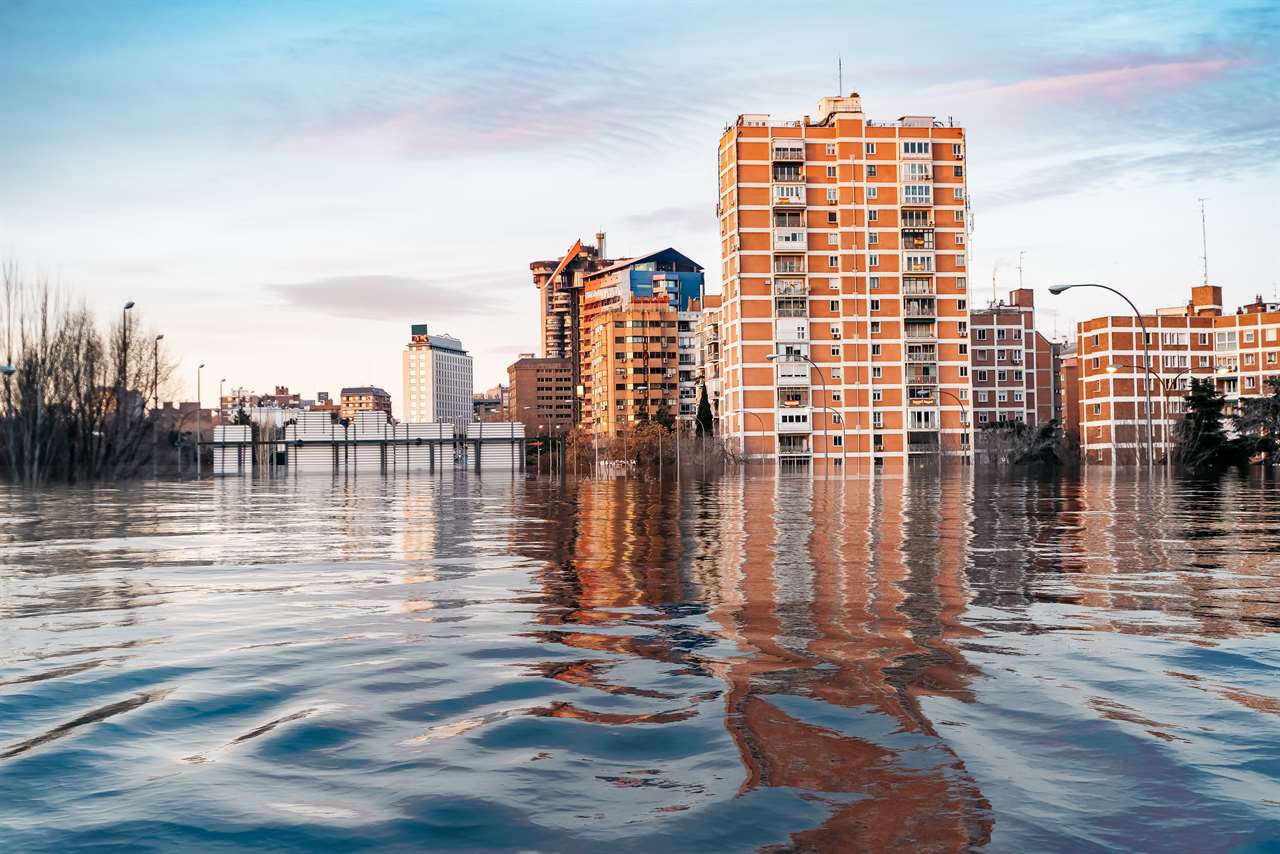
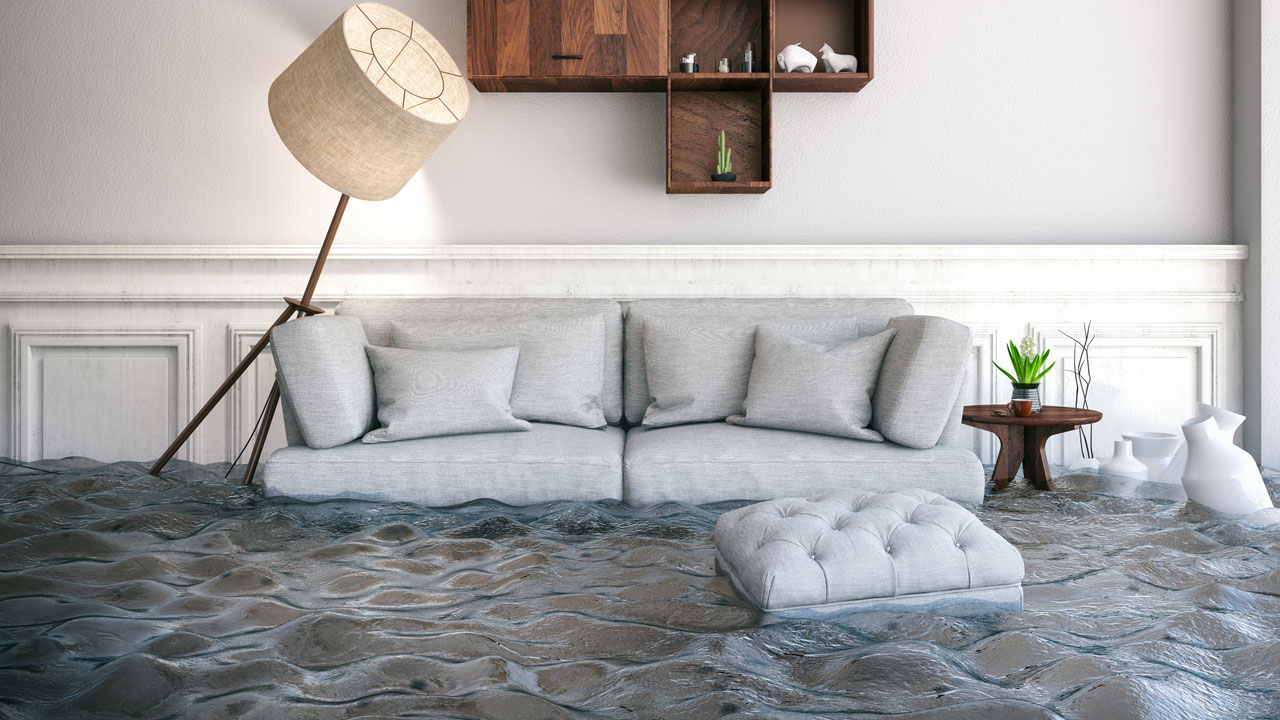
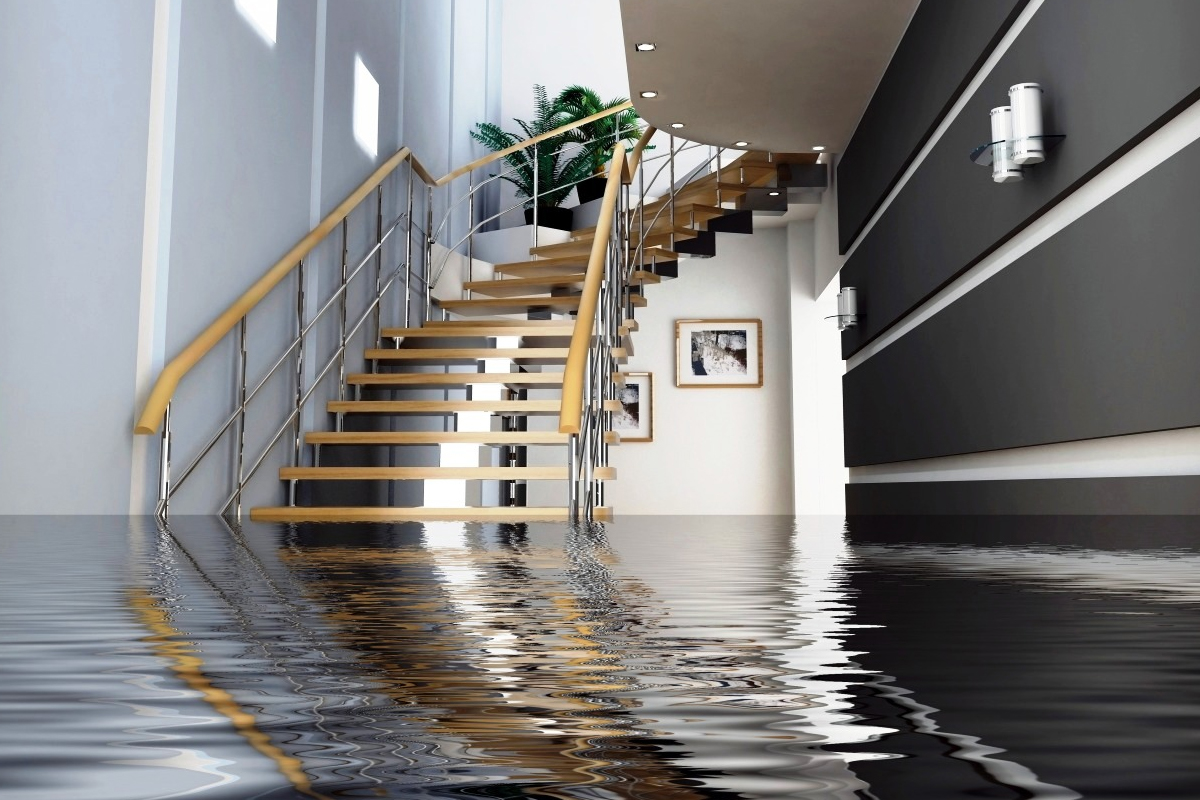
The ticking sound of a clock never seems louder and faster than the time you are stuck with a water disaster in your home. And rightly so! Every passing second worsens the water damage and puts your house at risk of mold and other high humidity issues.
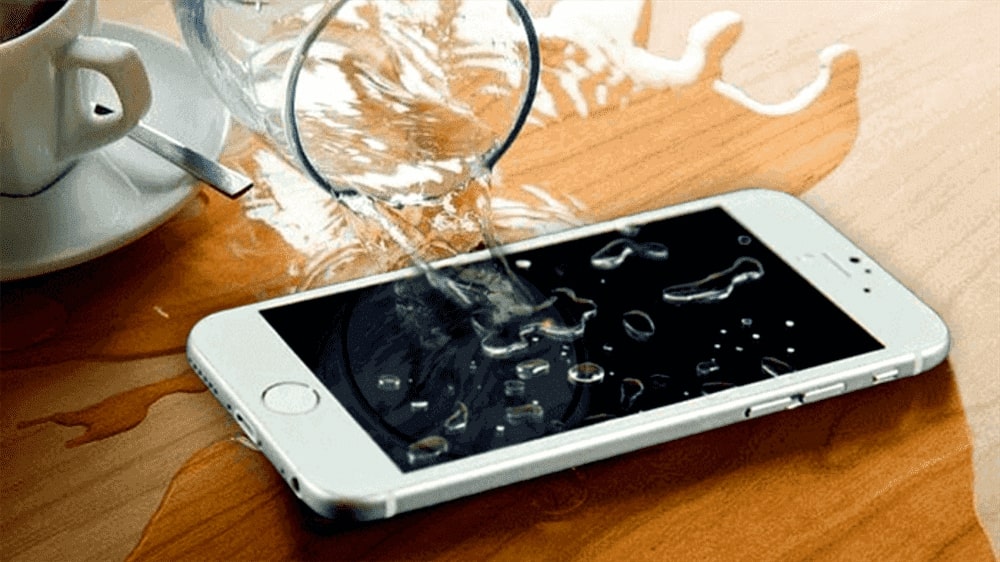
If the water has reached any of the appliances or wiring systems of your home, it’s imperative to shut off the electricity as well. What next? Water damage repair and restoration efforts should be started right away. Immediate action can save your hundreds, if not thousands of your dollars.
Following are the top 14 tips for water damage repair and restoration you must know.
-
Inspect And Fix The Plumbing System
Shutting off the water source is the temporary fix. You have to identify the source of the water leak. It isn’t always the plumbing system of your home, a leaky roof can also be the culprit. Inspect the area around which the leak originated. Roof or damaged window frames can be protected with caulking as a temporary measure. You will need professional assistance for permanents fixes.
When a broken or burst pipe is the cause of water damages, you can repair them or contain them unless professional help arrives. Clean the pipe surface, wrap it with plumbing tape and use epoxy to secure the tape on the pipe.
-
Identify The Type Of Water Damage
There are three main types of water damage and they need to be dealt with in three separate ways. The “clean” or white water comes from rain, condensation, and leaky pipes. As it is not contaminated and safe to deal with, you can carry out the water damage restoration process on your own. The professional services cost around $3.75 per square foot for basic cleanup.
The second category is slightly dirty or gray water that comes from dishwashers, clean toilets, kitchen sinks, and washing machines, etc. Although it contains some contaminants, you can handle DIY repair and restoration following some strict safety guidelines. Or get it professionally cleaned for an average of $4.50 per square foot.
The third and the most sensitive category of water damage is ‘black water’. It comes from sewage, septic tank overflow, or flooding from nearby rivers. You must hire professional services immediately. Identifying the damage type allows you to take swift actions.
-
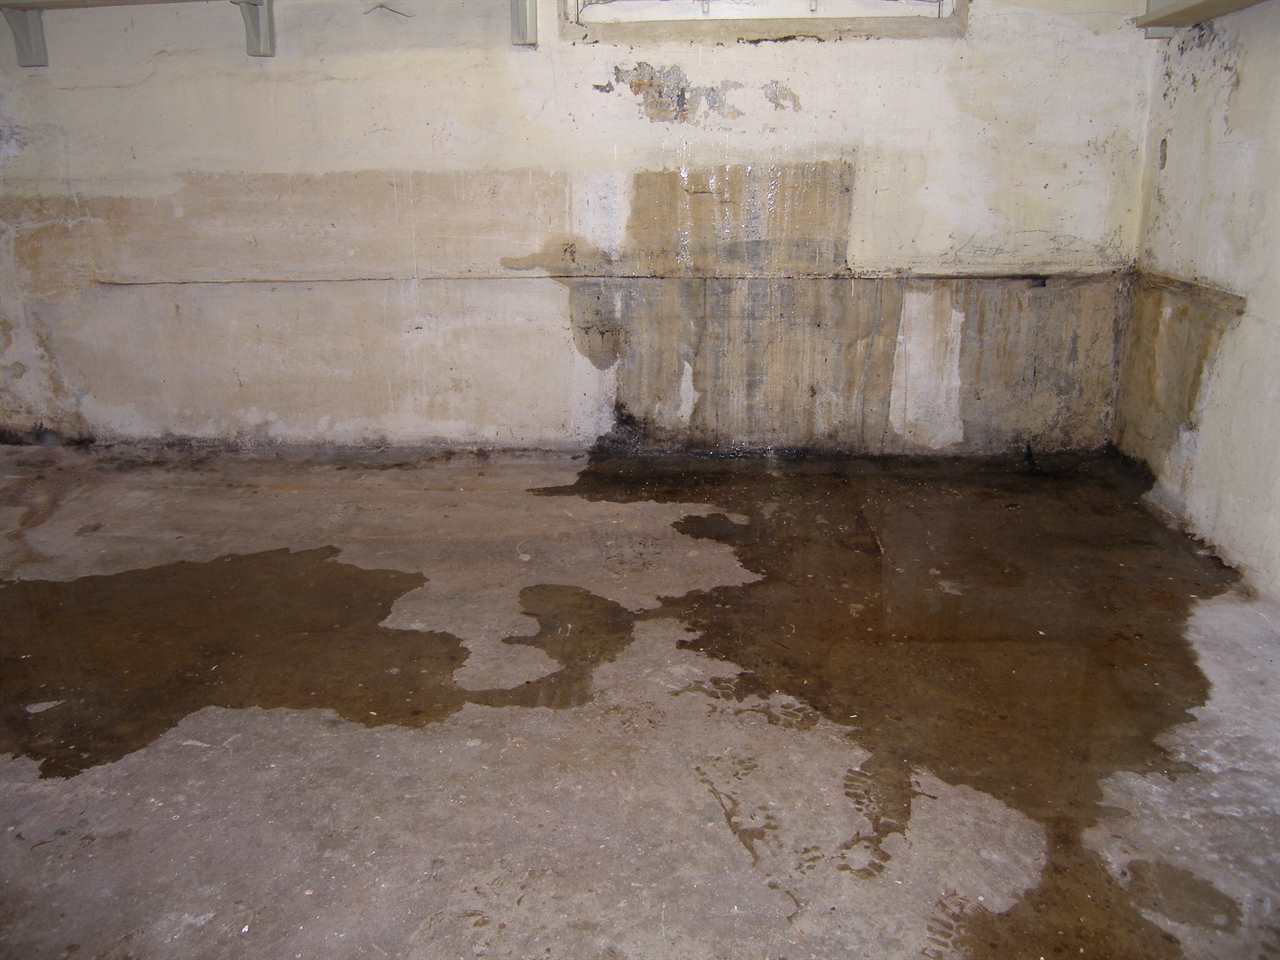
Inspect For Signs Of Mold And Mildew
Believe it or not, mold can start to grow on affected surfaces in less than 24 hours. If you are dealing with water damages that could be older than that, inspect the items for signs of mold growth.
Funky smells and colored spots on the affected surfaces are some of the signs of the mold. If you find any or all of these signs, be very careful. Mold can be toxic to humans especially the ones already suffering from respiratory tract disorders.
Whether it is dangerous for human health or not, all kinds of mold eat away the affected materials. Contain the areas with signs of mold growth and hire a team of certified professionals for mitigation.
-
Toss Away Damaged And Porous Materials
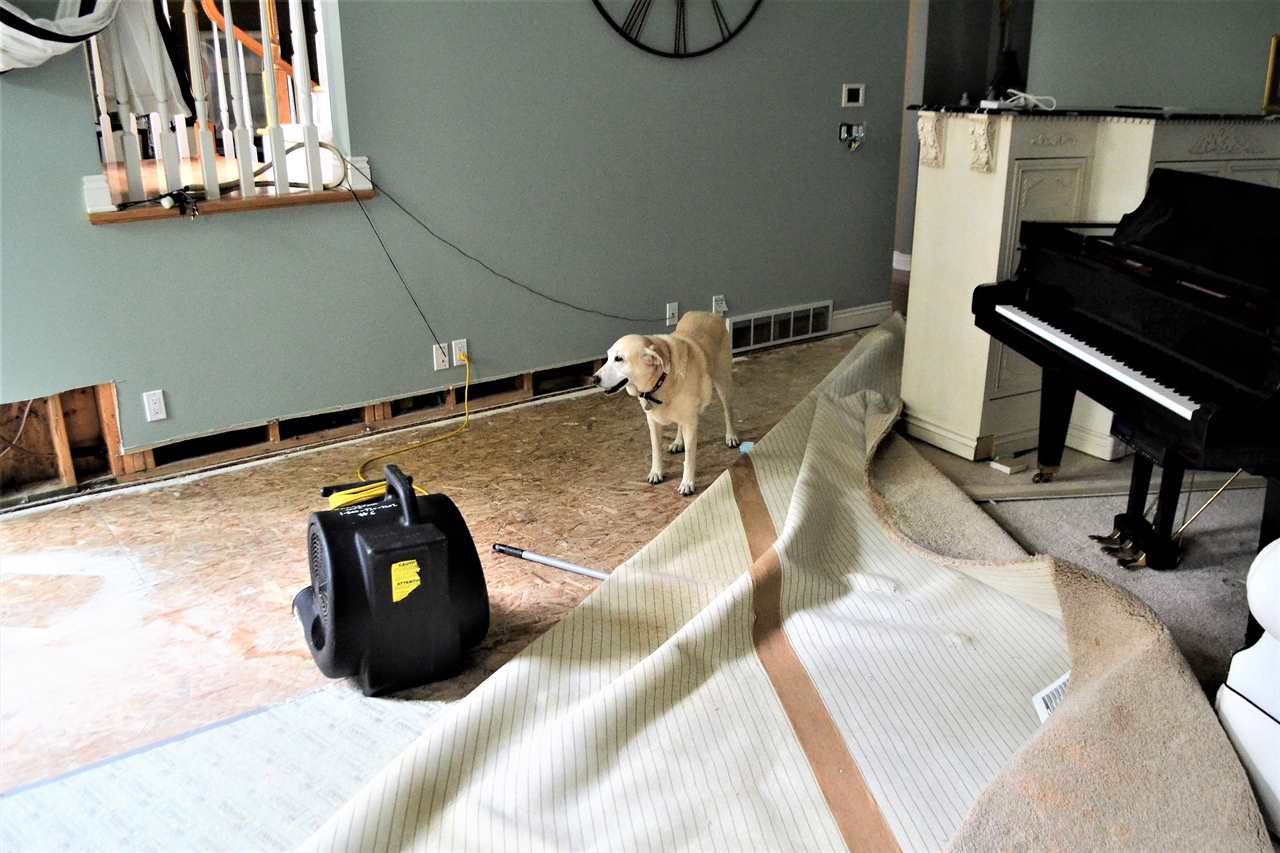
If water-soaked parts or all of your home, porous items can rarely be restored. Items like carpet, insulation, and fabric can never be effectively dried and it is highly recommended to throw them away. Most of the porous materials not only absorb the water but sustain serious damages such as warping and shrinking.
You are more likely to retain the affected furniture or upholstery items if the water was clean and uncontaminated. The longer the items stay soaked in water, the more difficult it gets to restore them. Know that unsealed cement and drywall are also included in porous materials.
-
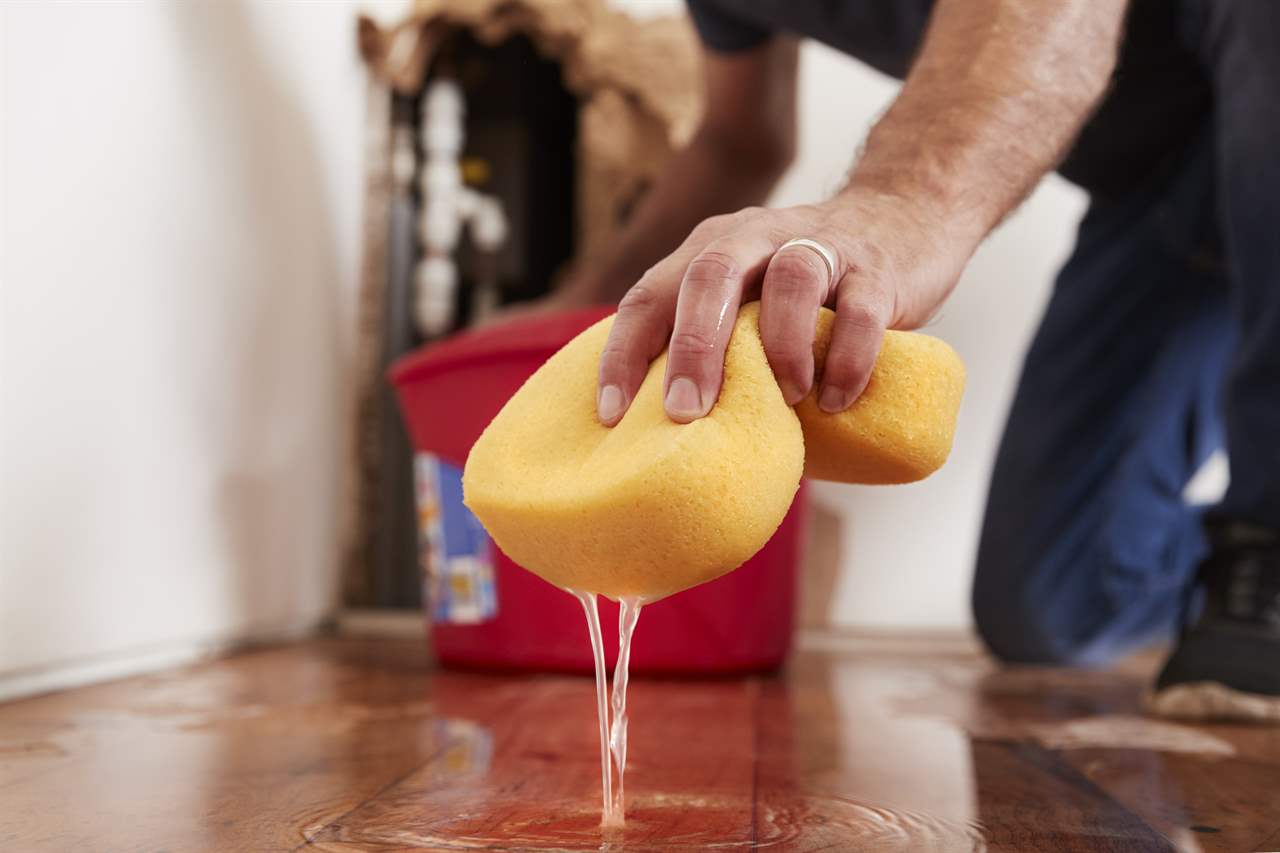
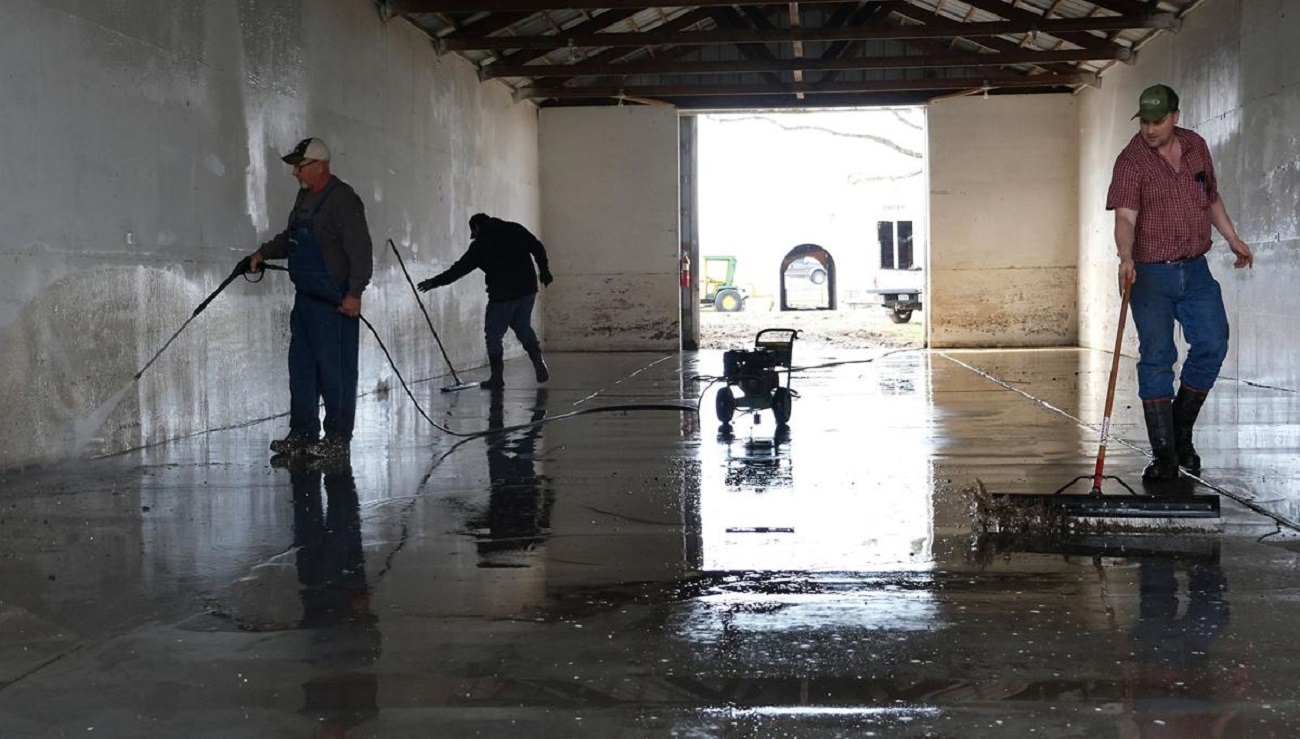
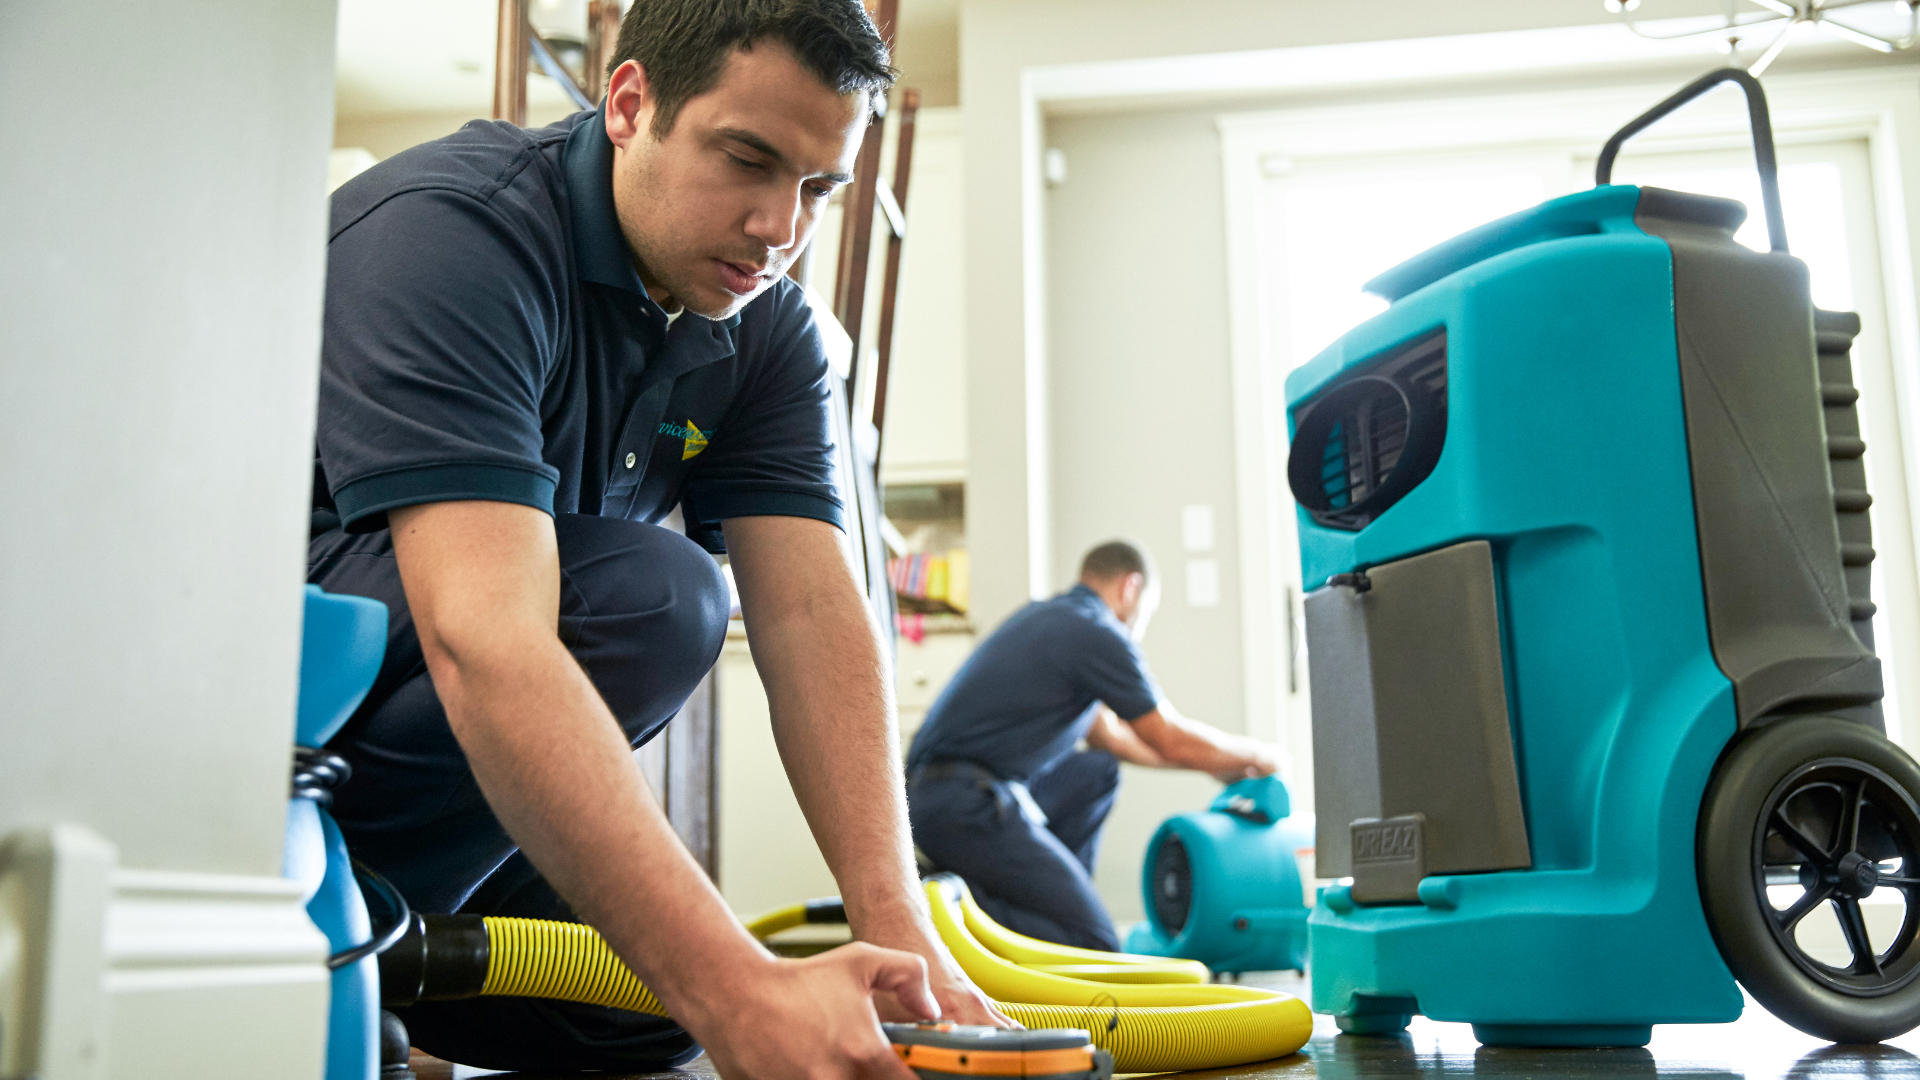
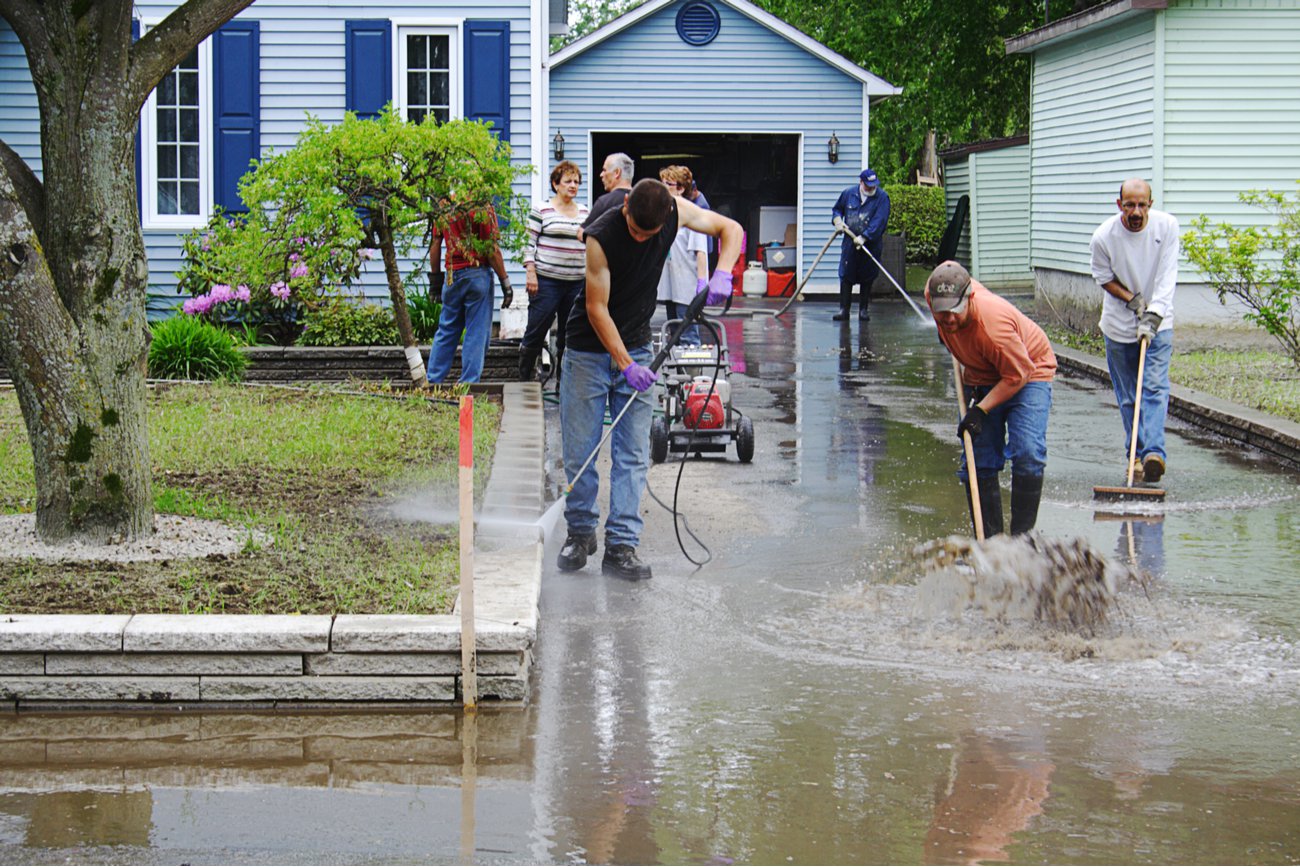
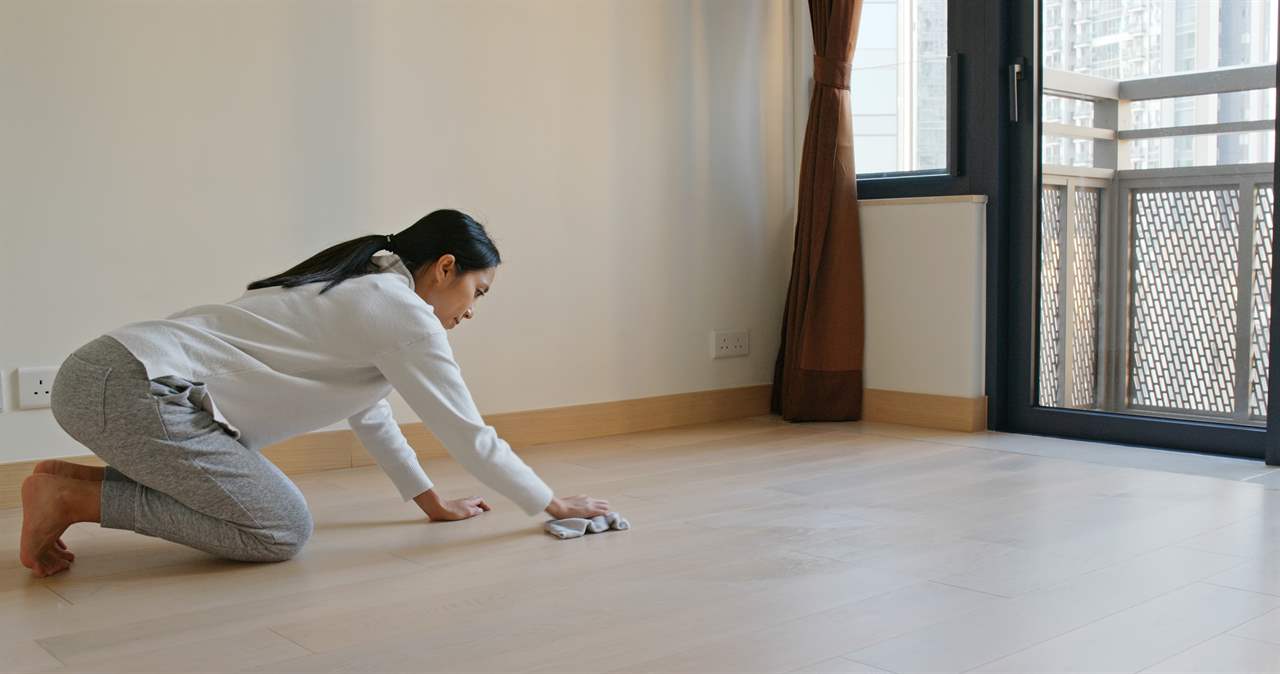
Extract Excess Water
Once you have tossed out the damaged items and secured others, it’s time to extract excess water. If you had water flooding, then you will need a big water pump to get rid of the water. For other kinds of minor water damages, you can use a bucket and cup to redirect water to drains. Mop the area with dry clothes and wipers.
-
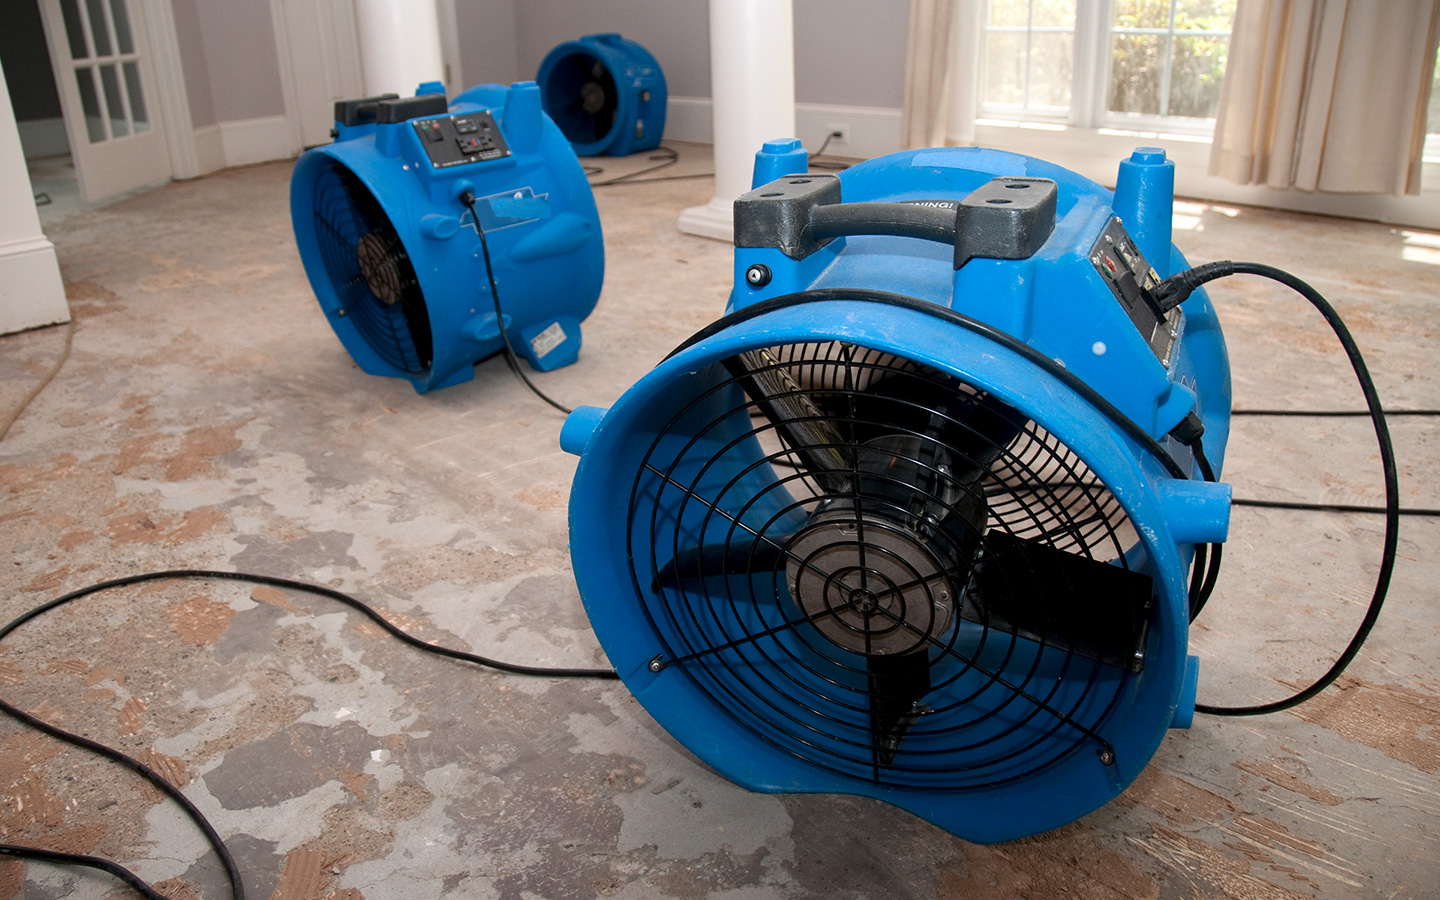
Dehumidify The Place
It’s important to get rid of all the moisture, not just the water pools and puddles. Moisture gets absorbed in the air increasing the humidity content that encourages mold growth. If possible, open up the windows and doors to allow ventilation. Fresh air can speed up the drying process. You can use fans to circulate air in the affected areas. For large areas of your home, it is economical to rent high-capacity dehumidifiers to completely dry wood, carpet, and surroundings.
-
Disinfect The Non Porous Surfaces
Once the area is dry, you can inspect it for serious damages. Note down the regions of severe damage so that you don’t miss out on any of them later. Before you begin on actual repairs, disinfect all of the non-porous surfaces with a good quality disinfectant. There are several homemade options but bleach happens to the most effective and easily available chemical in a household. Lightly spray the surface, let it sit for about a minute, and wipe it with a soft cloth. Disinfectants can effectively kill the spores protecting your property from mold growth.
-
Replace Damaged Ceiling Panels
In case water damage has affected the ceiling of your house, turn to it before any major repair work. The ceiling is subject to gravity at all times and water-soaked materials can sag down sooner than you know.
If you don’t want the ceiling panels to sag or collapse, remove the affected boards. Most ceiling water damages are caused by roof leaks. It's critical to identify the cause and seal the leak before installing new panels. The cause of roof leaks can be far away from the water stains and drippings. As the nature of roofing jobs is risky, contact a team of professionals for your safety.
-
Remove/Replace Warped Wood
Wood looks opulent in a household but is more susceptible to water damages than any other construction material. Pay attention to the wood installed in your house, particularly flooring, doors, and window frames. If it has developed any signs of mold and mildew, there is no solution other than removing it.
When wood is one of the structural components of your house, carry out replacements with adequate support during and after the repair work. You can always call in a water damage repair company or a structural engineer for professional insights.
-
Fix/Replace Water Damaged Parts Of Floors
Wet carpet and warped wooden boards are some of the most horrifying consequences of water flooding. You have to replace the entire carpets because it’s virtually impossible to dry out the carpet underlayment and padding in less than 24 hours. If moisture remains trapped underneath it can lead to extensive deterioration. Similarly, once fungus starts to grow in one board, it reaches other portions of the floor as well. It's best to identify the affected portions and replace them with new ones.
-
Seal New Floors
Don’t forget to seal the new floors. Mere installation is not enough. You can consult your nearby professionals to learn more about the floor sealants used by them. Sealing your wooden floors is an easy DIY project. Those who don’t have any experience in this work, prefer hiring a team of experts.
-
Repair The Drywall Damages
One of the most common questions asked by homeowners is that how much drywall should be replaced in case of water damage? Measure the affected area. If the drywall has swelled or sagged 3/8 of an inch or more from the baseline, repairs won’t be enough. Replacing the entire sheet is the better option. For water stains and warps smaller than that, portions can be cut and replaced. Take this as an opportunity to check the wall insulation for issues.
-
Replace The Affected House Siding
Leaky roofs are potentially risky for your house exterior. When the water seeps behind the siding, it not only affects the siding material but can harm the more vulnerable materials beneath. Restoration experts suggest removing panels of house siding before the rot worsens. Thoroughly inspect the walls and replace the panels with new ones. But only after you have secured the water leak!
-
Add Painting Caulk To Even Out Surfaces
It took a lot of hard work to repair the drywall and floors. Now it’s time to dive into the fine work. Touch-ups include applying a new coat of paint or stain. Prepare the walls with painting caulk. Once you are done with the touch-ups, seal the new materials to avoid water seepage.
Before you resume living comfortably in the house, hire a professional to inspect and repair appliances and electrical systems of your home


Leave a comment