
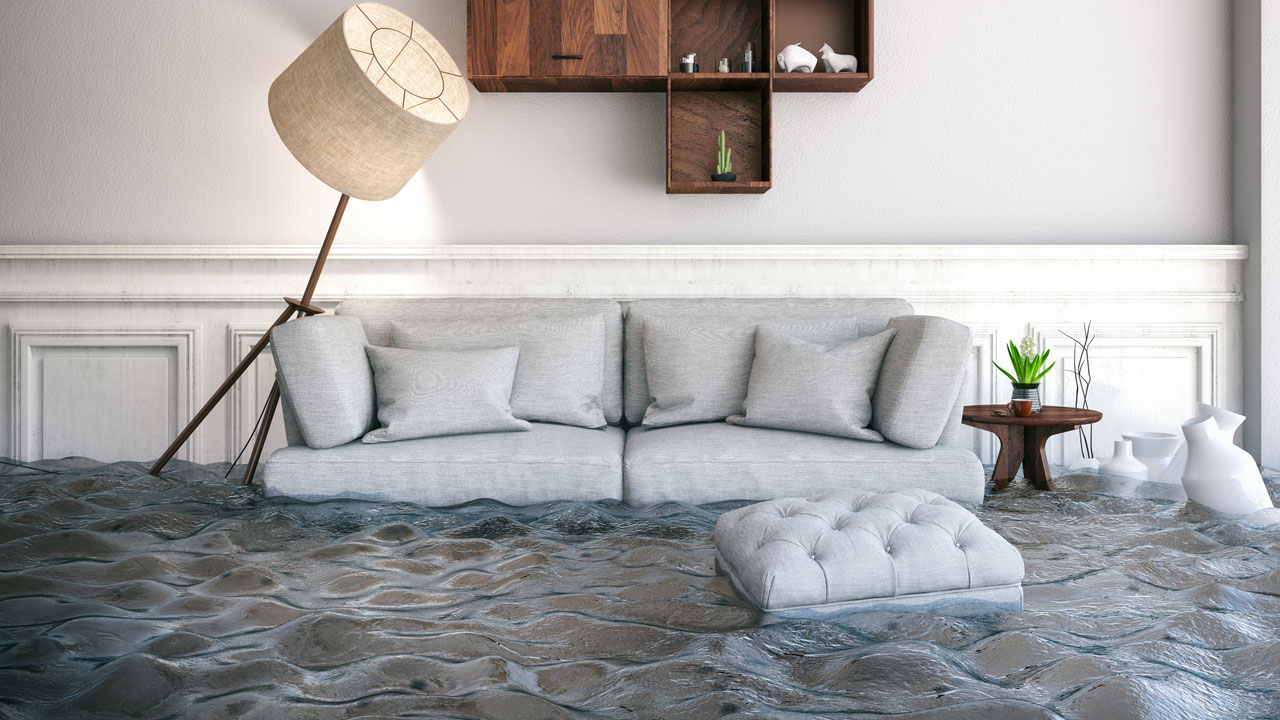
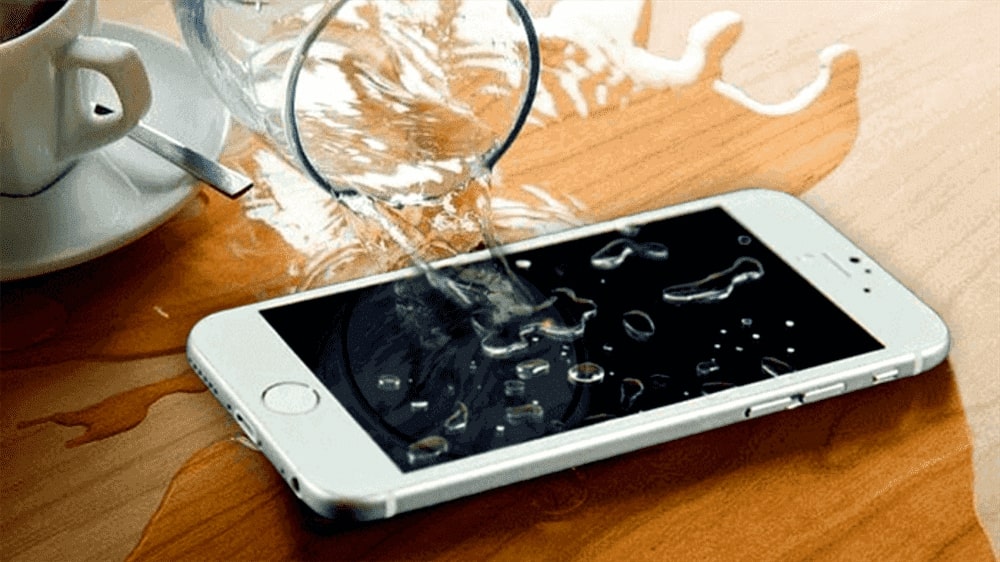
Due to its appealing beauty, versatility, and durability, laminate is becoming increasingly common among homeowners. Laminate is designed to last for years with little maintenance. Water and laminate, on the other hand, have a tangled relationship. Water can harm the wood materials used in laminate floors. So, how do you repair laminate floors that have been damaged by water? If assembled according to the manufacturer's instructions, laminate is designed to withstand minor spills.
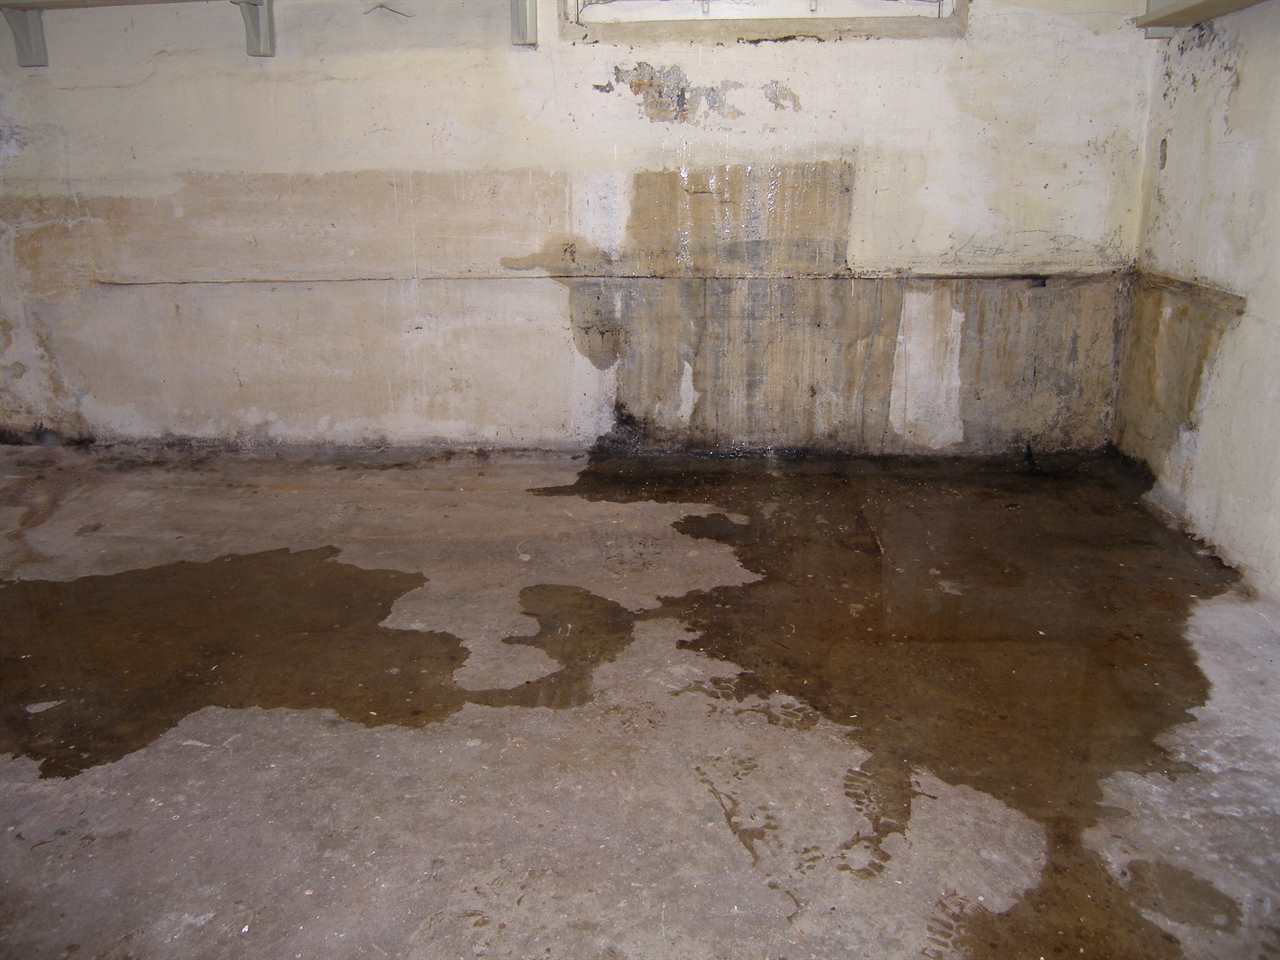
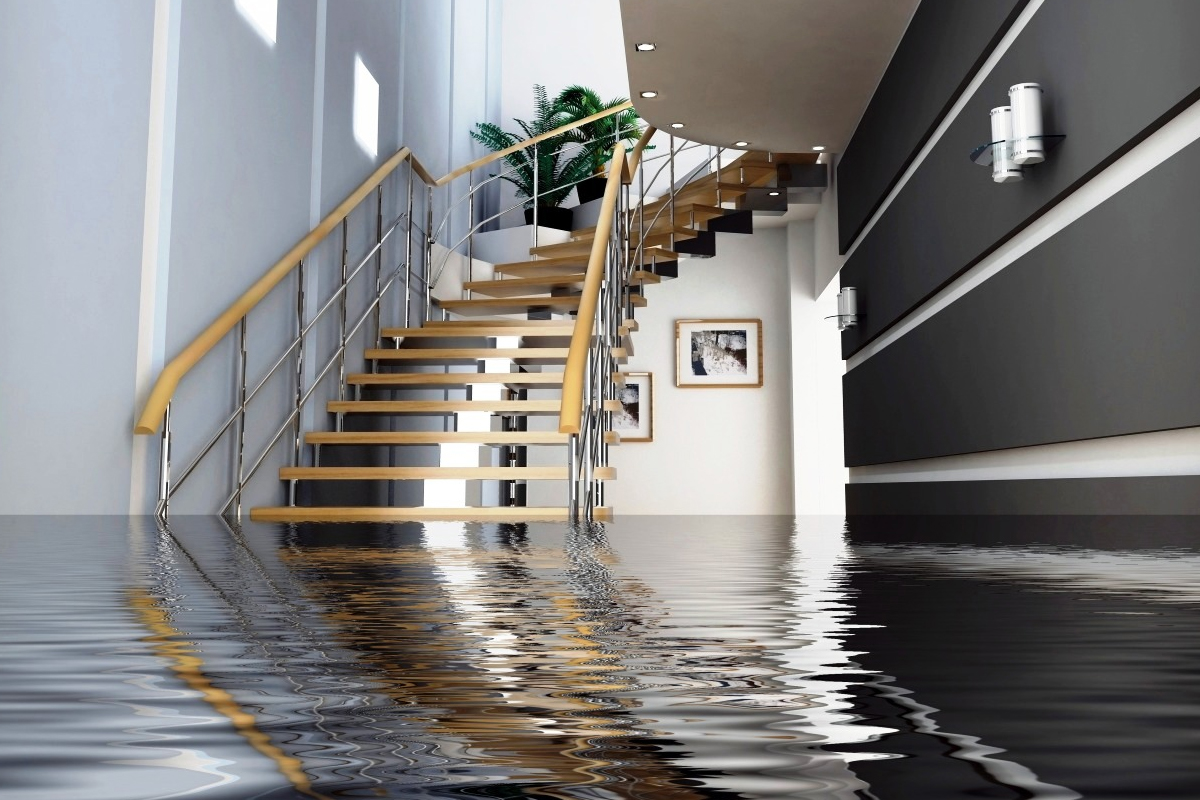
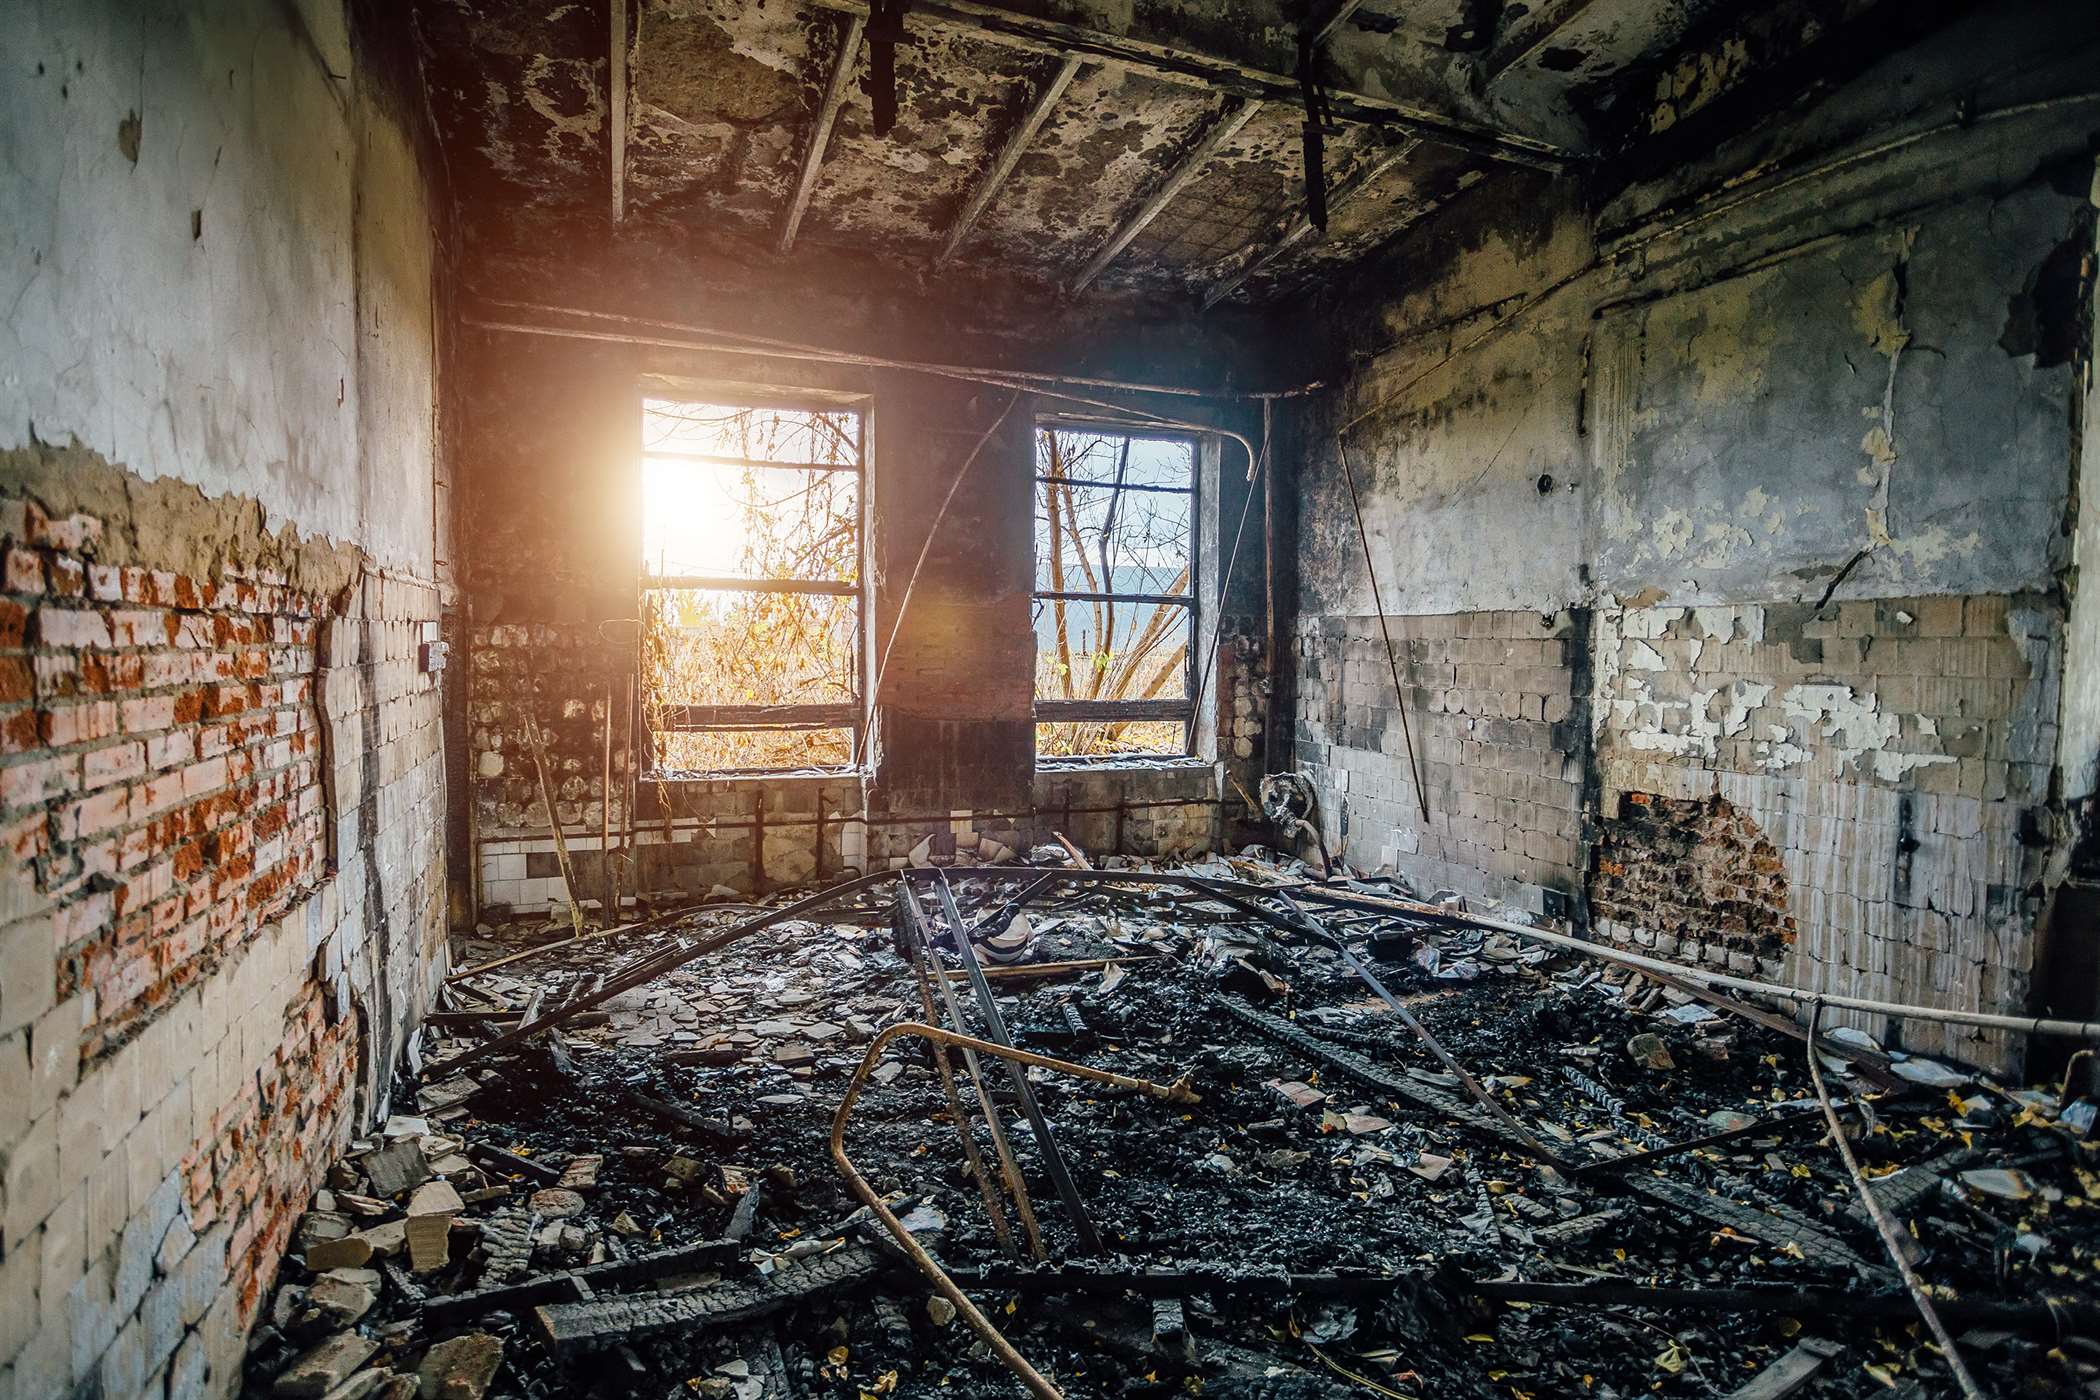
Direct water damage from substandard or inappropriate installations is a different story, and it can cost you a lot of money. When a laminate becomes fully saturated with water, it begins to absorb the moisture, breaking down the laminate's structure. Piping leaks, wet mopping, and water spills cause a slew of issues in the long run.
If you leave any planks unattended, they will buckle or bend in strange ways. All of these are indications that your laminate flooring needs to be repaired. To make things easy for you, here is a step-by-step guide on how to fix laminate floor water damage.
1. Carefully locate the source of the water leak
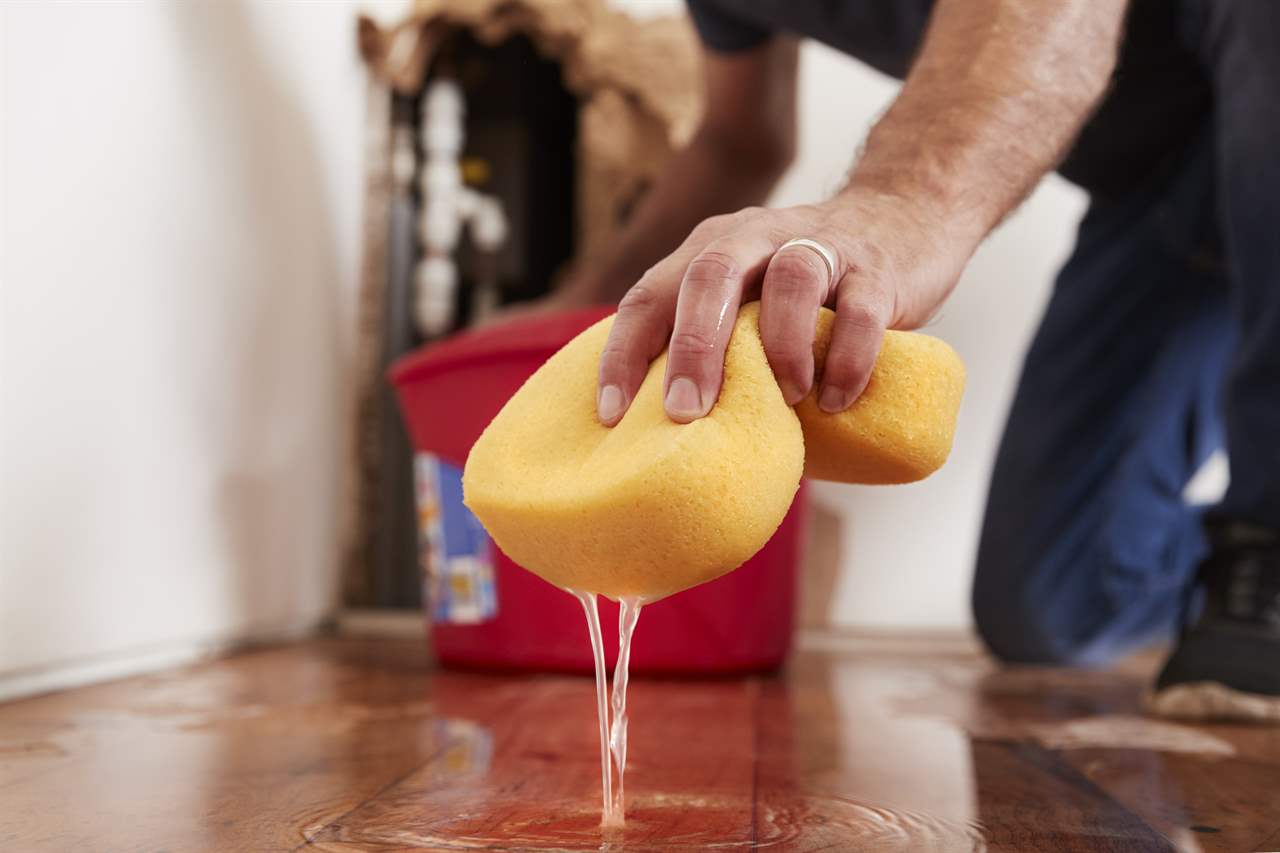
You shouldn't begin the laminate floor repair process until you know where the water is coming from and how to stop it. To avoid any leaking, turn off your water supply. If the leak is caused by an appliance, such as your fridge, you must first repair the appliance before you can begin fixing your flooring. A broken pipe or anything else inside your home's walls may be the source of the leak. If this is the case with your laminate flooring, you may hire a specialist to come out and inspect the problem before you start working on the laminate flooring. Whenever a minor spill of some sort occurs on your laminate flooring, clean it up right away to avoid water damage in the long run.
2. Look for bending or cracking in the distorted areas
When laminate is wet, it absorbs the moisture, which causes the structure of the flooring to deteriorate. Water damage in your laminate flooring can manifest itself in a variety of ways, including cracking or bending the floor. Water damage can also cause tiles to separate. When testing, go over each tile one by one. Push on the floorboards as you move around and see if they are bulging from the floor's foundation. Be cautious when doing so, as even minor distortions in the tiles may indicate water damage. If a tile is damaged in some way, the entire tile must be replaced.
3. Look for discoloration and mold symptom
When the water in your laminate flooring is left untreated for a prolonged period of time, mold will grow. If this happens, the color of your tiles can change, giving your laminate floor an unappealing appearance. You should keep an eye on your floor to see if it is bent in some way.
4. Place a sticky note on each broken tile
This way, you'll be able to see how widespread the problem has become. If you plan to hire a specialist to look into the problem, these sticky notes will serve as a good starting point for them. With the sticky notes, take a snapshot of the whole laminate floor in case you decide to show it to a flooring specialist.
5. Using a putty knife, pry up the broken planks one at a time
If a putty knife isn't available, a butter knife will suffice. Wear eye protection during this process to avoid getting dust, dirt, or something else into your eyes. To stop accumulating debris, dispose of the broken planks as you get further.
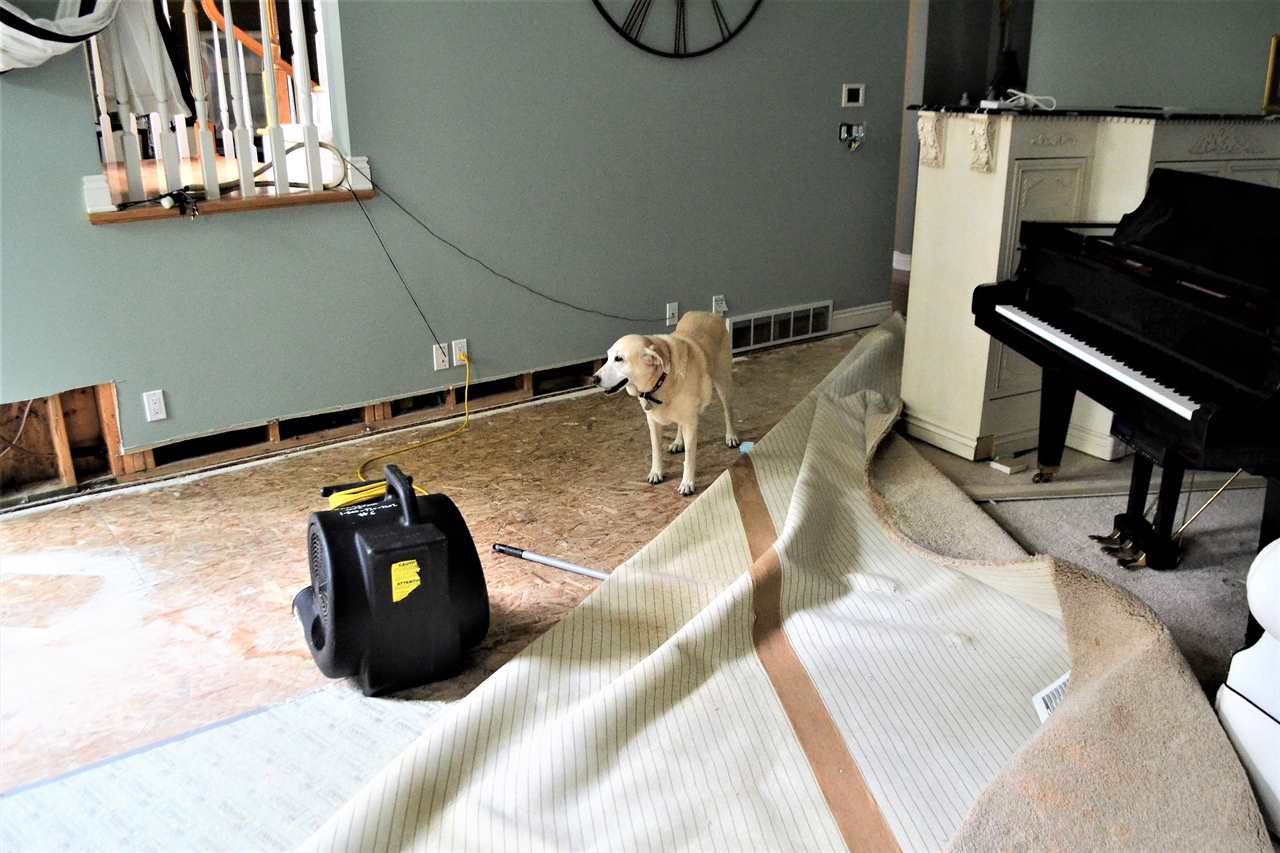
6. Take out the baseboards from under the tiles
This reveals the bare floor underneath and allows you to thoroughly inspect the floor for dust or mold accumulation. Remove the baseboards one at a time, much like the planks, to prevent any damage to the flooring. If you try to pull a plank up and couldn't see any damage, just reinstall it into the floor!
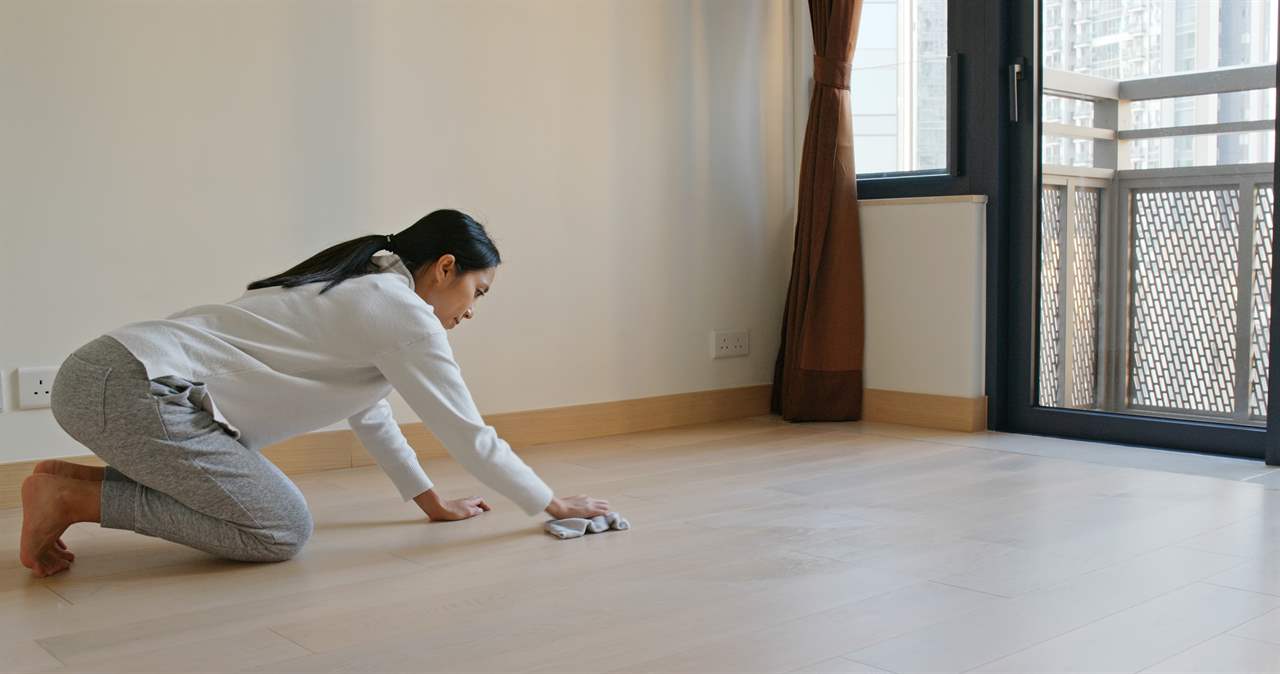
7. Before removing the planks, mop the floor underneath them
Water and dirt will collect under your floorboards, so sweep it up with a broom and dustpan. Then, with a rag, wipe down the entire exposed floor. If there is something on the exposed surface, the planks cannot slip in place next to one another. Check the area for something that could get in the way of the planks.
8. Purchase and install new laminate planks
Accurate replacements can be difficult to come by unless you purchased extra laminate tiles when your laminate floor was mounted. If you carry a broken tile into a flooring store, they will assist you in finding new tiles that are suitable. Start by going to the same store where your laminate floor planks were purchased initially, as this will increase the likelihood of you locating the perfect replacement laminate planks. If you can't find planks that match the ones you have, you might want to consider removing the entire laminate floor. If this is the case, get expert advice from a laminate flooring store. Similarly, if the majority of your tiles are affected, replacing the entire floor can be preferable.
9. Get the appropriate tools
Protection glasses, flooring adhesive, putty knife, utility knife, measuring tape, cleaning solvent, pliers, hammer, and new underlayment material are among the items you'll need for the job. You'll also need to replace your laminate planks with new ones that fit your current flooring. Since compatible laminates are difficult to come by, many homeowners prefer to replace the entire floor rather than just the damaged section. By getting the materials listed ready ahead of time, you can avoid last-minute trips to the flooring shop.
- Place the replacement planks alongside the original planks
Place the replacement laminate planks next to the tiles that haven't been damaged and removed, so they aren't affected.You can also hire a laminate expert from a water damage listing. Allow enough space between the planks for the nozzle of the flooring adhesive bottle to squeeze in. This is why it's important to have replacement laminate planks that are identical to the original planks. The more similar the laminate planks are, the easier it will be to bring them together.
11. Use flooring adhesive to attach the replacement plank
Squeeze any adhesive between the long sides of the laminate planks and apply it. Since flooring adhesive is so powerful, you just need a small amount to get the planks to stick. Flooring adhesive is available at places like hardware stores or even some online stores.
12. To help the planks set, put a heavy object on top of them
Any object, whether it's a piece of furniture or a sofa, will hold the laminate planks in place and enable the adhesive to keep them together for a long period of time. It's fine to position the heavy object on the laminate planks immediately after the adhesive has been applied. Allow the object to rest on the planks for a few hours to ensure that the planks adhere to one another.
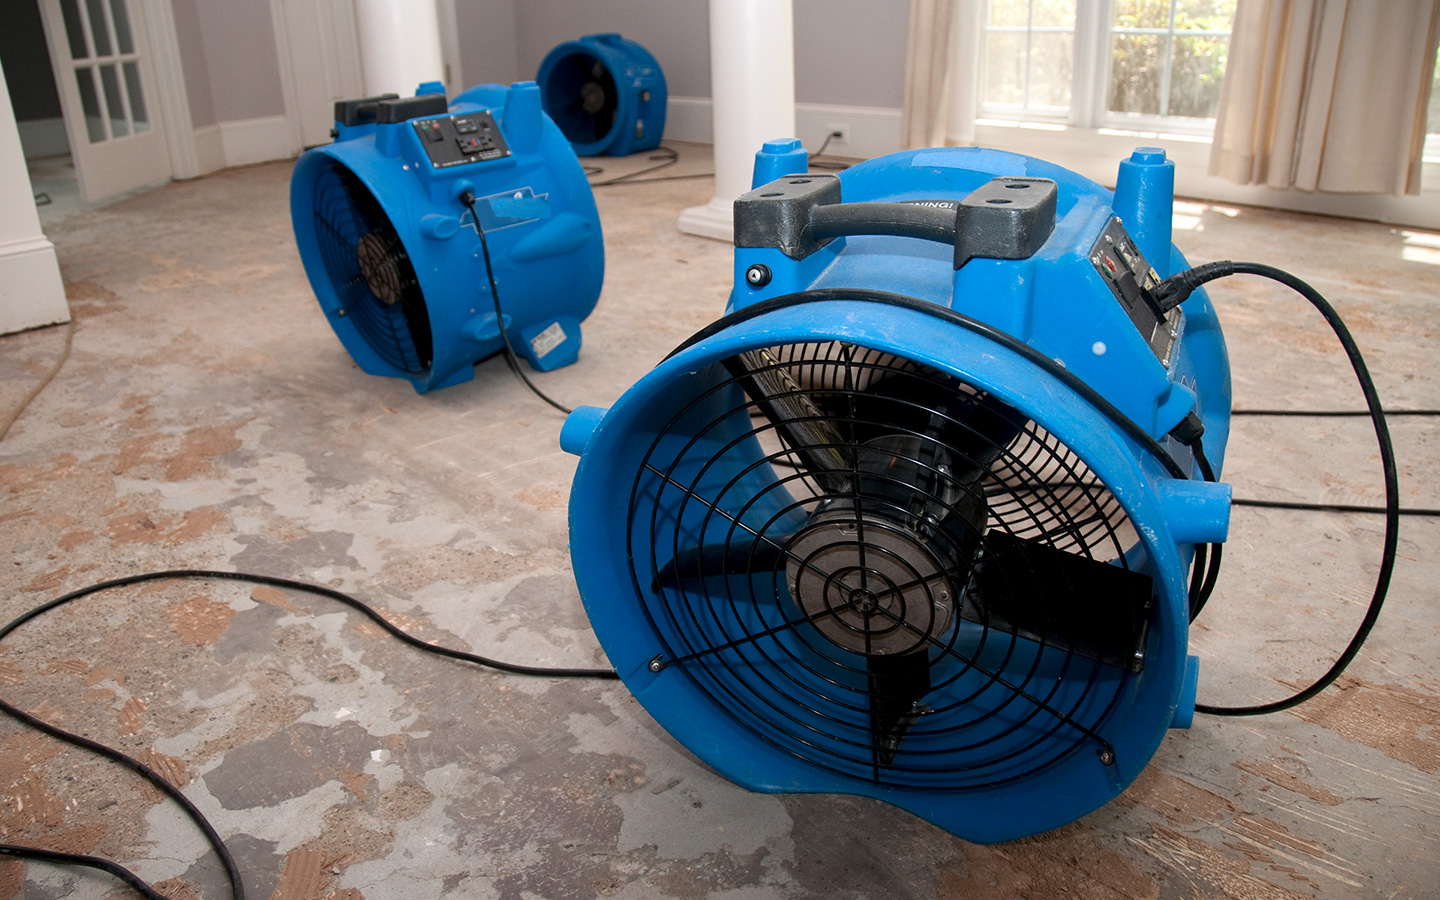
13. Seek expert assistance if you need more help
This can be a difficult task, particularly if the water damage has damaged the majority of your laminate floor. Most flooring experts, fortunately, will come to your home and evaluate the situation for free. Before you try something else, contact the experts if you don't feel comfortable repairing the floor yourself. Start by contacting the service provider that installed your laminate floor in the first place, as they would have the ideal insight into what went wrong and how to fix it.

How to fix laminate countertop water damage?
You already know how to fix laminate flooring, but what about your laminate countertops? First, let's find out why laminate countertops get damaged? Moisture is a key factor that can damage a laminate countertop. The majority of countertops have a particleboard substrate. It's well-known for being vulnerable to water damage. When exposed to moisture, particleboard absorbs it easily and loses the ability to hold onto laminate. When it comes to repairing a water-damaged countertop, you have a limited amount of time. Reattaching the laminate as quickly as possible is needed for effective repairs. The longer you delay the repair of your countertop, the more water damage the particleboard takes. Here are some basic steps on how to fix laminate countertop water damage.
Step 1: Begin by raising the laminate's loose edge. Any debris trapped between the substrate and the laminate can be removed with a putty knife.
Step 2: Heat the laminate's surface with an iron or a heating gun. If you choose to use an iron, set it to "cotton" and avoid using any steam. This move softens the glue, which can assist in the reformation of the bond between the substrate and the laminate.
Step 3: Lay the laminate over the affected area and weigh it down with thick books or flat weights. Enable time for the area to cool before continuing to the next stage. Check to see if the laminate is loose after it has cooled. If that's the case, you'll need to reapply the adhesive.
Step 4: Apply contact adhesive to the laminate's underside as well as the substrate's surface. Then, using a rolling method, press the laminate against the substrate with strength.
Step 5: Keep rolling until the surface is uniformly worked and any trapped air bubbles have been released. Place weights on top of the surface once more for at least an hour.
Final thoughts
Though, without the assistance of experts, it is possible to repair a laminate floor and countertop. You can repair the laminate flooring and countertop on your own if you have the time and know-how to install it. You will not have any significant problems with your laminate if you obey all of the tips mentioned above. If you intend to fully repair your laminate floor or countertop, make sure to purchase extra planks and material so you won't have to waste time looking for replacements if there is another issue.


Leave a comment